How text removal works
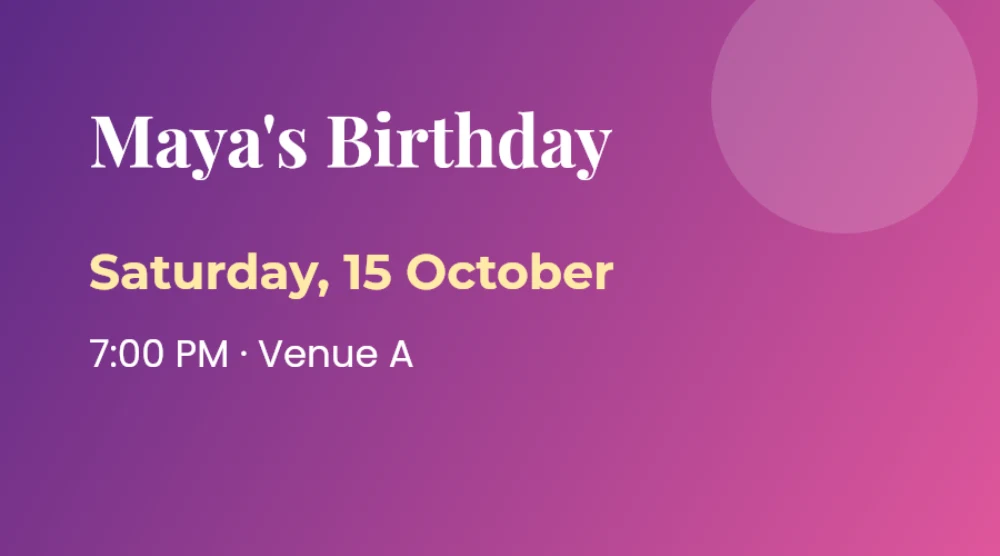
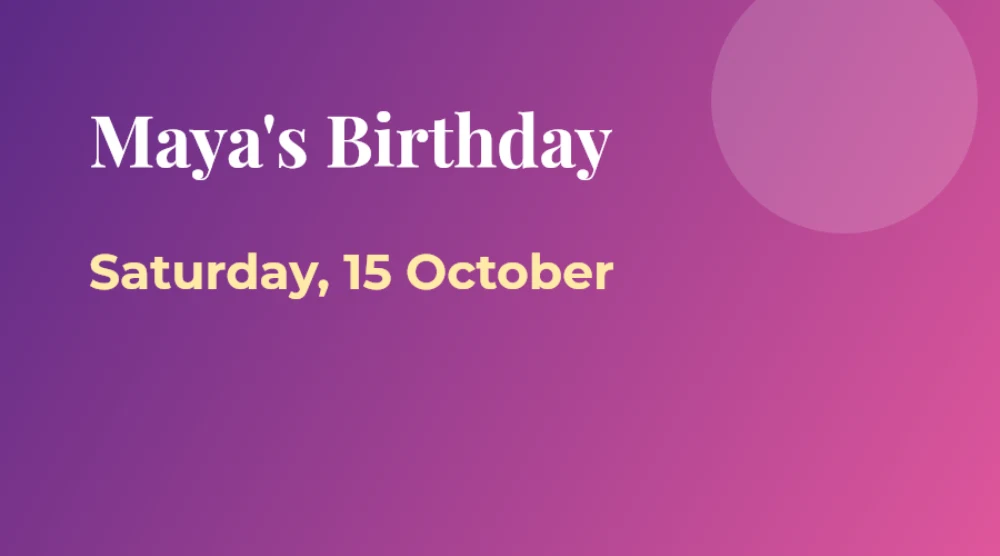
When you erase a line, the editor works out which pixels are ink and which are background, including the soft anti-aliased edges of every letter. It removes the ink and refills those pixels using the background around them: on flat or gradient backgrounds it reconstructs the exact colours, and on textured photos it borrows real texture from just above and below the text so the grain continues naturally.
This is different from blurring or cropping. The area keeps its original look, and you can even type new words into the same spot.
Good uses
- Remove an old date or price from a poster before reusing the design
- Clear captions from your own photos
- Hide a name or detail in a screenshot before sharing it
- Clean up placeholder text in a mock-up
When a patch needs a second look
The editor rebuilds the background from the pixels around the letters. That is exact for flat colours and gradients, and convincing on even textures like paper, sky or fabric. It can’t know what was hidden behind the text, though: if an edge, a face or a pattern runs behind the letters, the rebuilt area continues the surroundings rather than redrawing that shape.
- Hold the eye button and compare at full size before you download.
- For big text over a busy photo, erase in smaller parts with Select area so each patch borrows from nearby pixels.
- If a shape behind the text matters, consider replacing the text with new words in the same spot instead of removing it.
What it is not for
Please don’t remove watermarks, credits or copyright notices from images you don’t own — that infringes the creator’s rights. Use the tool on your own images or ones you’re allowed to modify.